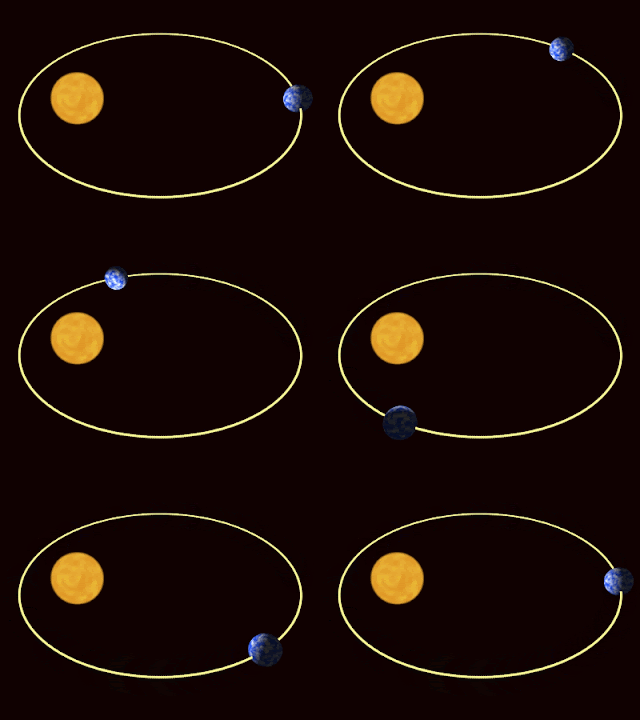
I wanted to have an image to do with space and the solar system, as I think idents work well with a black background. As space is black, this would make sense for a backdrop.
At first I thought of using an image of the moon, perhaps being seen rotating in its cycle before stopping and the production company name appearing.
Something like this, for example:
Development:
I then looked at some of the effects in After Effects and came across 'radio waves'...
I loved the circular motion of the waves, and instantly made me think of the planets orbiting the sun.
As this also fits into the space theme, this was perfect.
Construction:
I began by downloading an image of the Sun and each planet with a transparent background and importing them into After Effects.
I later decided to only include Mars, Earth, Venus, Jupiter and Neptune as I could not fit all of the planets into the composition without them disappearing completely from the frame. Saturn was especially difficult to include due to the rings.
A quick stop tour through the process:
1. Created the composition: 4k (3840 x 2160)
2. Create new camera - this is the only one I will need for the whole ident. This is made 3D.
3. Dragged the Sun into the composition
4. Add a 3D layer to it
5. Create new camera - this is the only one I will need for the whole ident. This is made 3D.
6. Create null object (for the Sun - rename to become 'Null Sun'.) Place this in the middle of the screen.
7. Repeat steps 3 - 6, but for Venus.
8. Select the Pickwhip tool and drag to the Null - this is called Parenting. [The null becomes the parent layer, meaning anything that happens to the null will also happen to the planet that it has been paired to]
9. Create a Z rotation by clicking and dragging along timeline
10. Create key frame at zero.
11. Repeat steps 7 - 10 for each planet. Each planet is resized and set to a different orbit speed. (Slower as they get further from the Sun)
12. Change the planets orientation to look more realistic: change from auto orientation to 'orient towards camera'
I then decided that I wanted the camera to zoom out from the Sun and rotate around my truncated solar system, before the whole thing is seen from a birds eye view. I wanted to have this effect as it feels as if the camera is flying through space - this is more engaging and immersive. The ident title would then appear over the planets once the camera has fully zoomed out.
13. To move the camera closer to the Sun: change the position of the camera - change the key frame
14. Move the Y position to zoom out. Click and drag along timeline
I then chose my title font from 'DaFont' and downloaded it. My original idea for the text was to have a small circle orbiting the 'O', to look as if it was a tiny little planet in an orbit.
Something like this...
I then tried to draw the 'O' with a circle tool, and subtracted the inner to make it look like a ring rather than a solid circle. I wanted to tilt it in order to match the rest of the font, but it would not let me as the circle is a solid and followed the central path.
Then, I had another idea - I could use the Jupiter as the 'O' for the title. It would stop in its orbit as it comes in line with the text, whilst the rest of the solar system fades.
15. Enlarge Jupiter to match font size
16. To stop Jupiter when in line with text: add new key frame
17. Fade in text: 0 - 100% over two seconds. End at 8 seconds
18. Fade out planets: 100 - 0% opacity over two seconds. End at 9 seconds
'Orbit Productions' is then all that is left on the black screen with Jupiter as the 'O'.


No comments:
Post a Comment